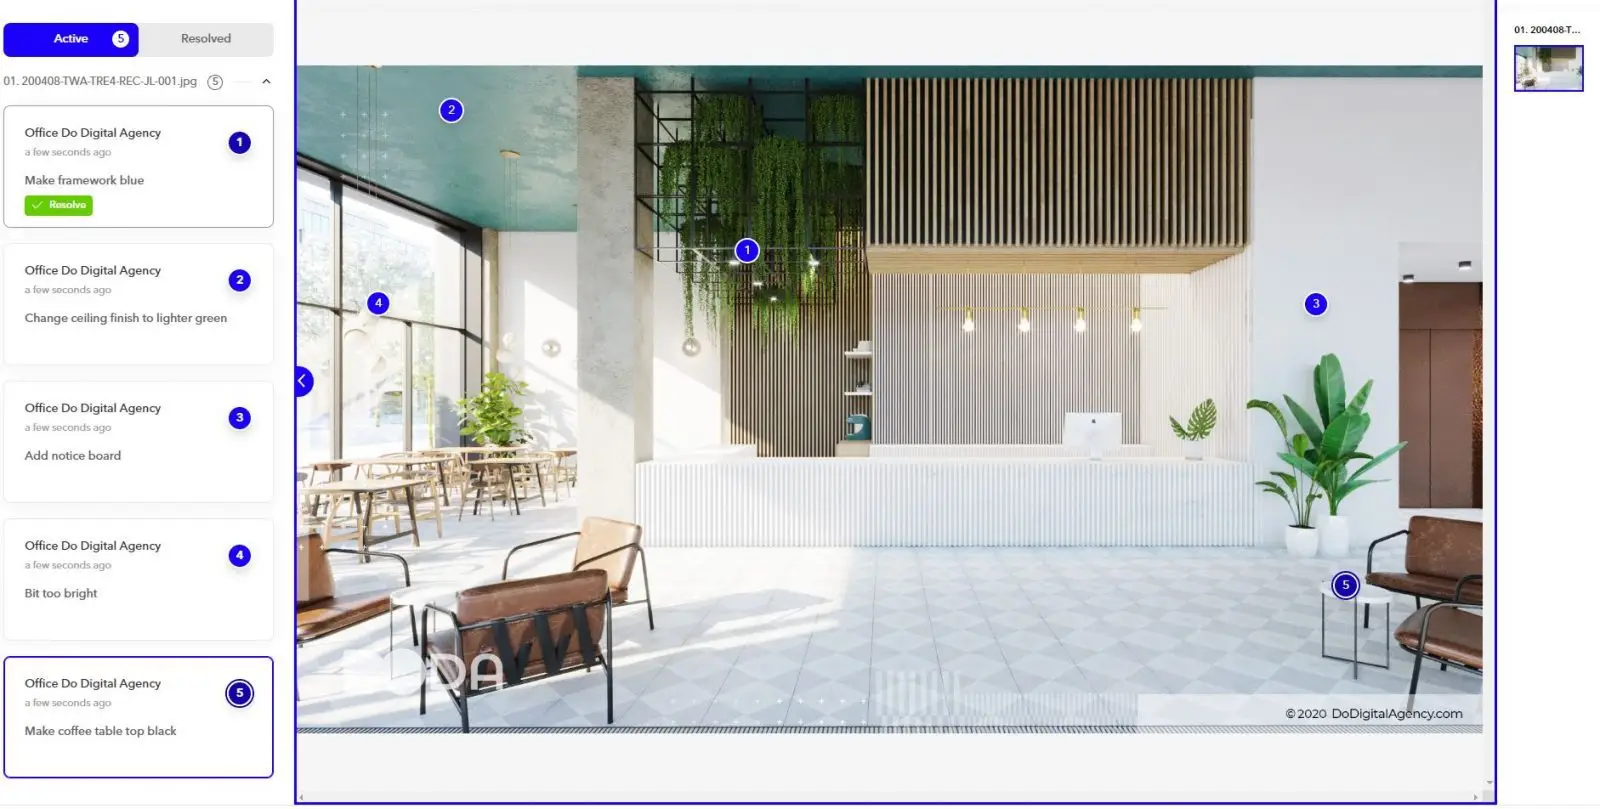
Introducing a new addition to our workflow – The traffic light system (TLS).
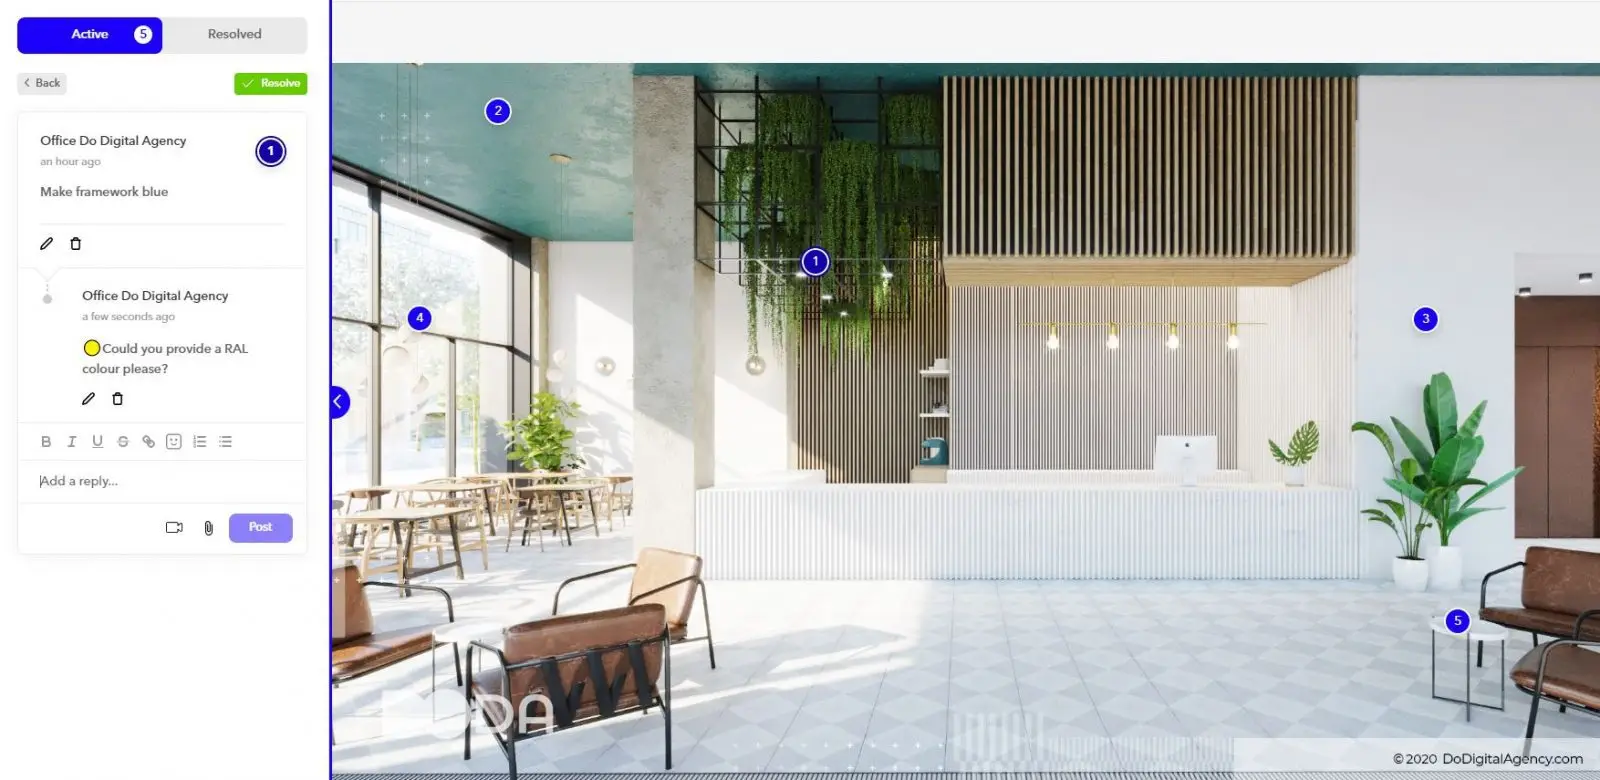
We’ll use markup.io to send you our images for comment. Once we receive feedback, we’ll pop a red, yellow or green icon on each to let you know if we understand everything clearly.
Each colour means something different:
We fully understand what’s required, and will action it.
There is something that needs clarification before we can continue (i.e. what kind of blue is that blue wall? Is it Navy or light blue? Do you have a RAL colour?) We’ll accompany this with an explanation of what we need.
This may be something outside the original scope of works that requires further discussion, i.e. new views, or unexpected changes. We’ll discuss this in more detail if it does come up.
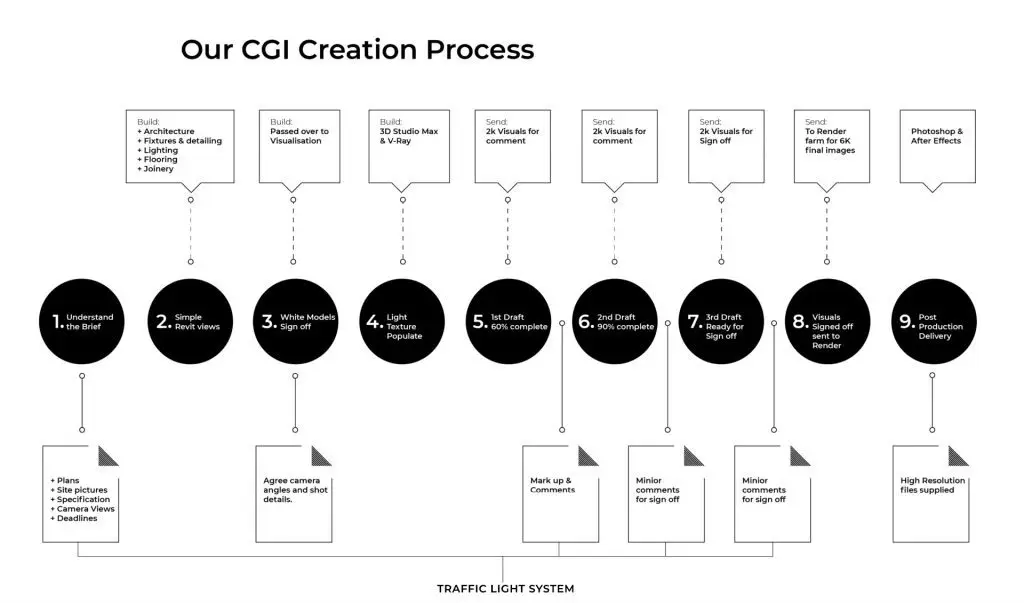
1. Understand the brief
Once a job has been agreed, our Project Procurement Team will be in touch if there are any bits of outstanding information that we need.
As soon as we receive your brief, we’ll go straight in with our traffic light system, identifying what information we might still need or want to expand on in order to deliver your project. Best case, we ask for:
– Site photos
– CAD Drawings/GA
– RCP/Reflected Ceiling Plans
– Furniture and Finishes Specification
– Sketches/Refernce Imagery
– View angles marked up.
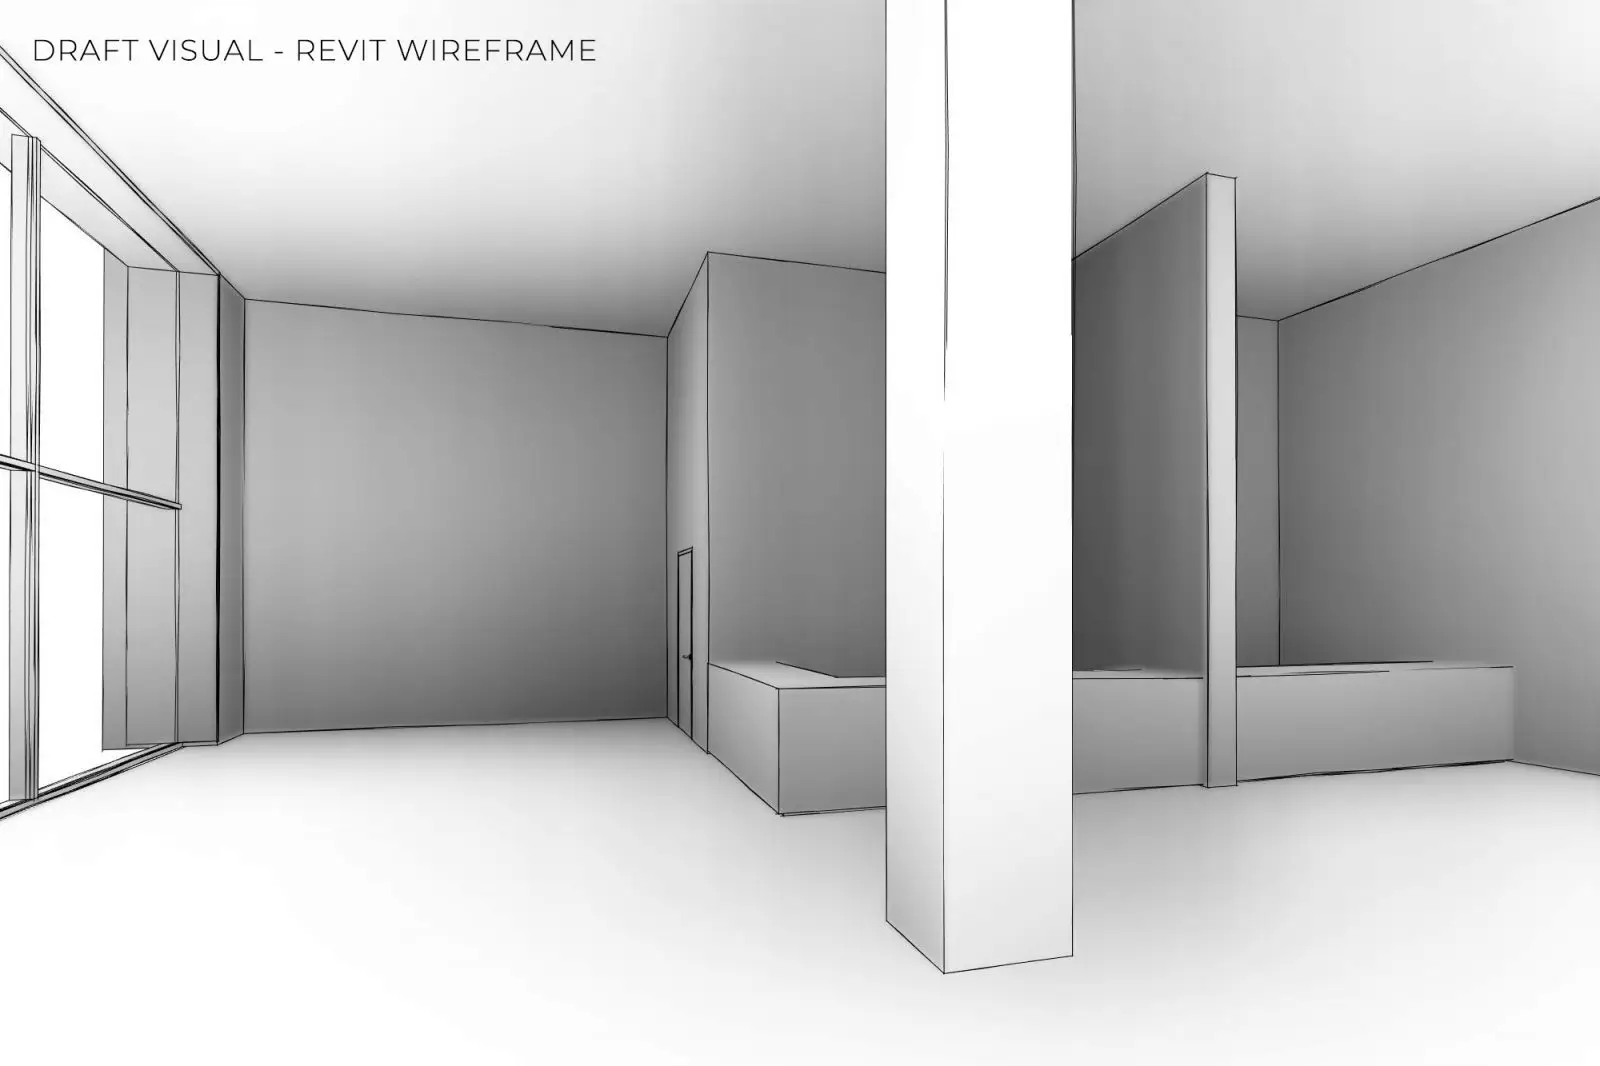
2. Simple Revit views
Phase 1 is where we model the base architectural elements of the existing and proposed design. These include
– Walls, Floors, Doors, Ceilings
– Lighting Fixtures
– Flooring Cuts
– Joinery/Teapoints
– Indicative Furniture
– Basic Camera angles
Once we complete these, we send you untextured wireframes for you to make comment on and sign off before we move to fully textured tests. If you have any feedback, expect traffic lights back!
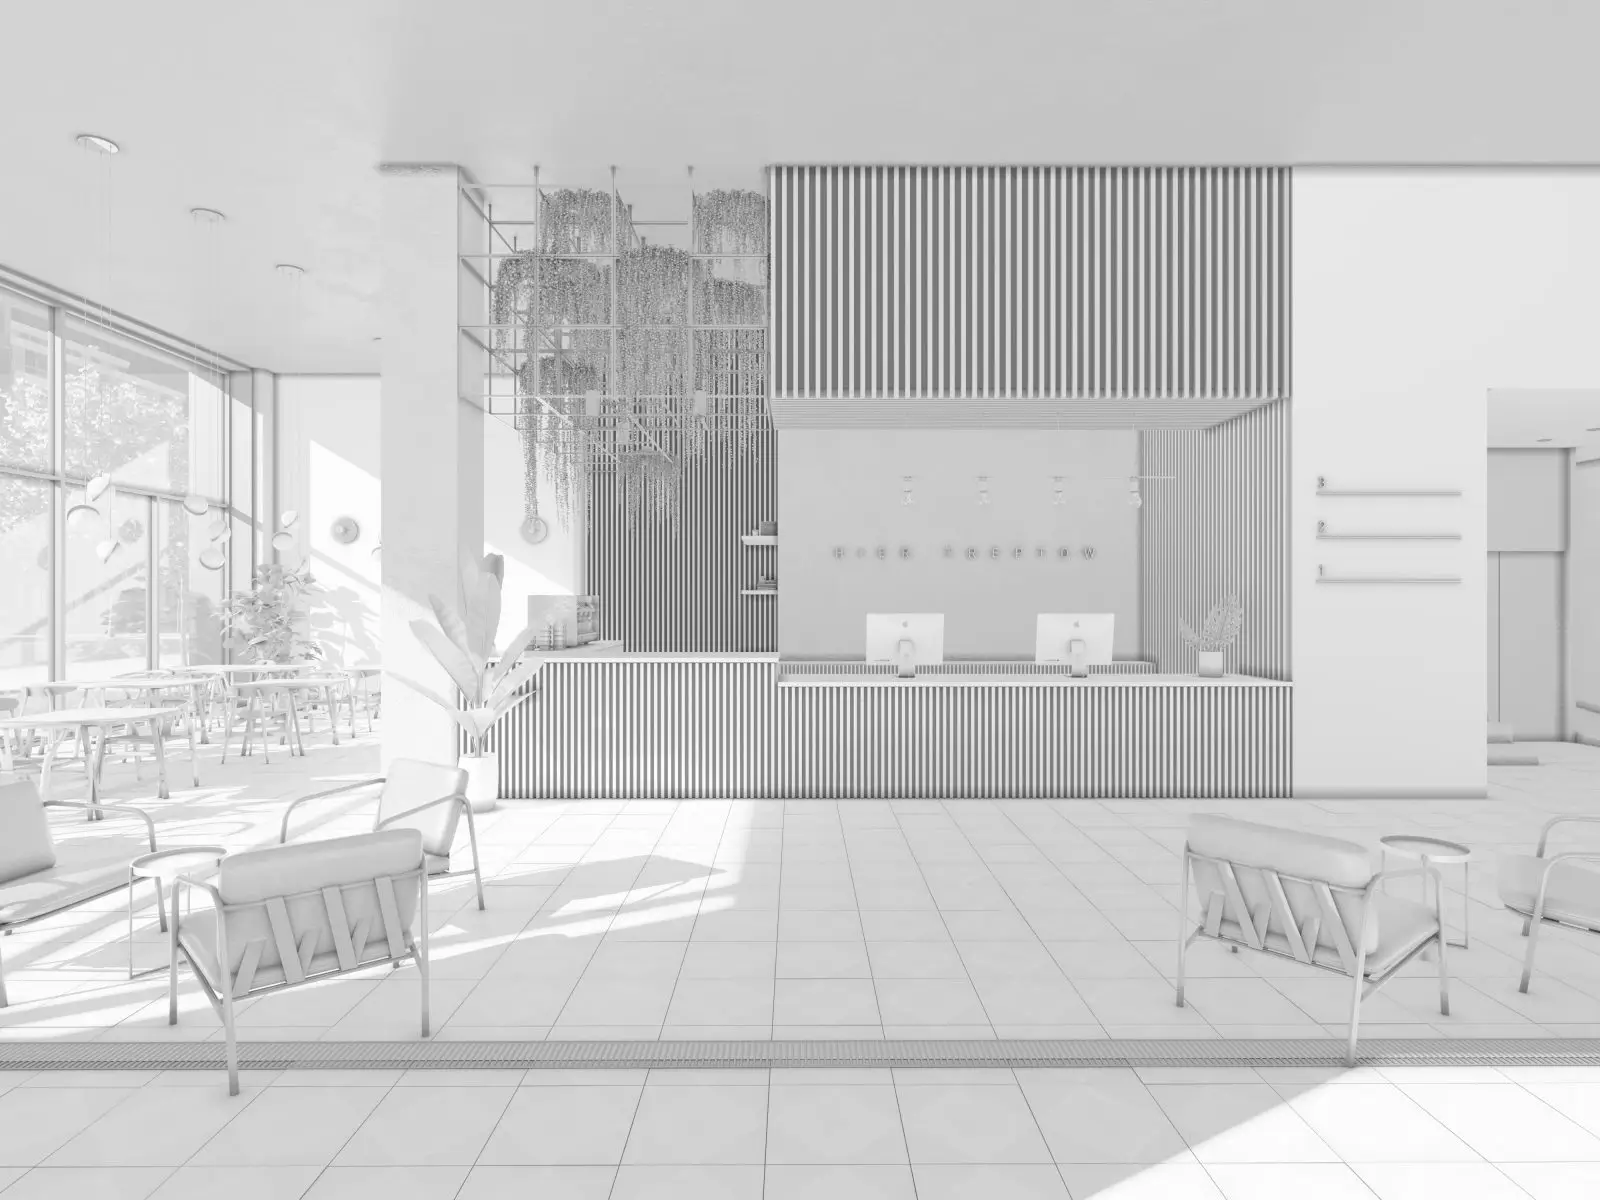
3. White model sign off
if needed, we’ll push those Revit tests one step further and allow us to confirm more accurate cameras, lighting, and composition.
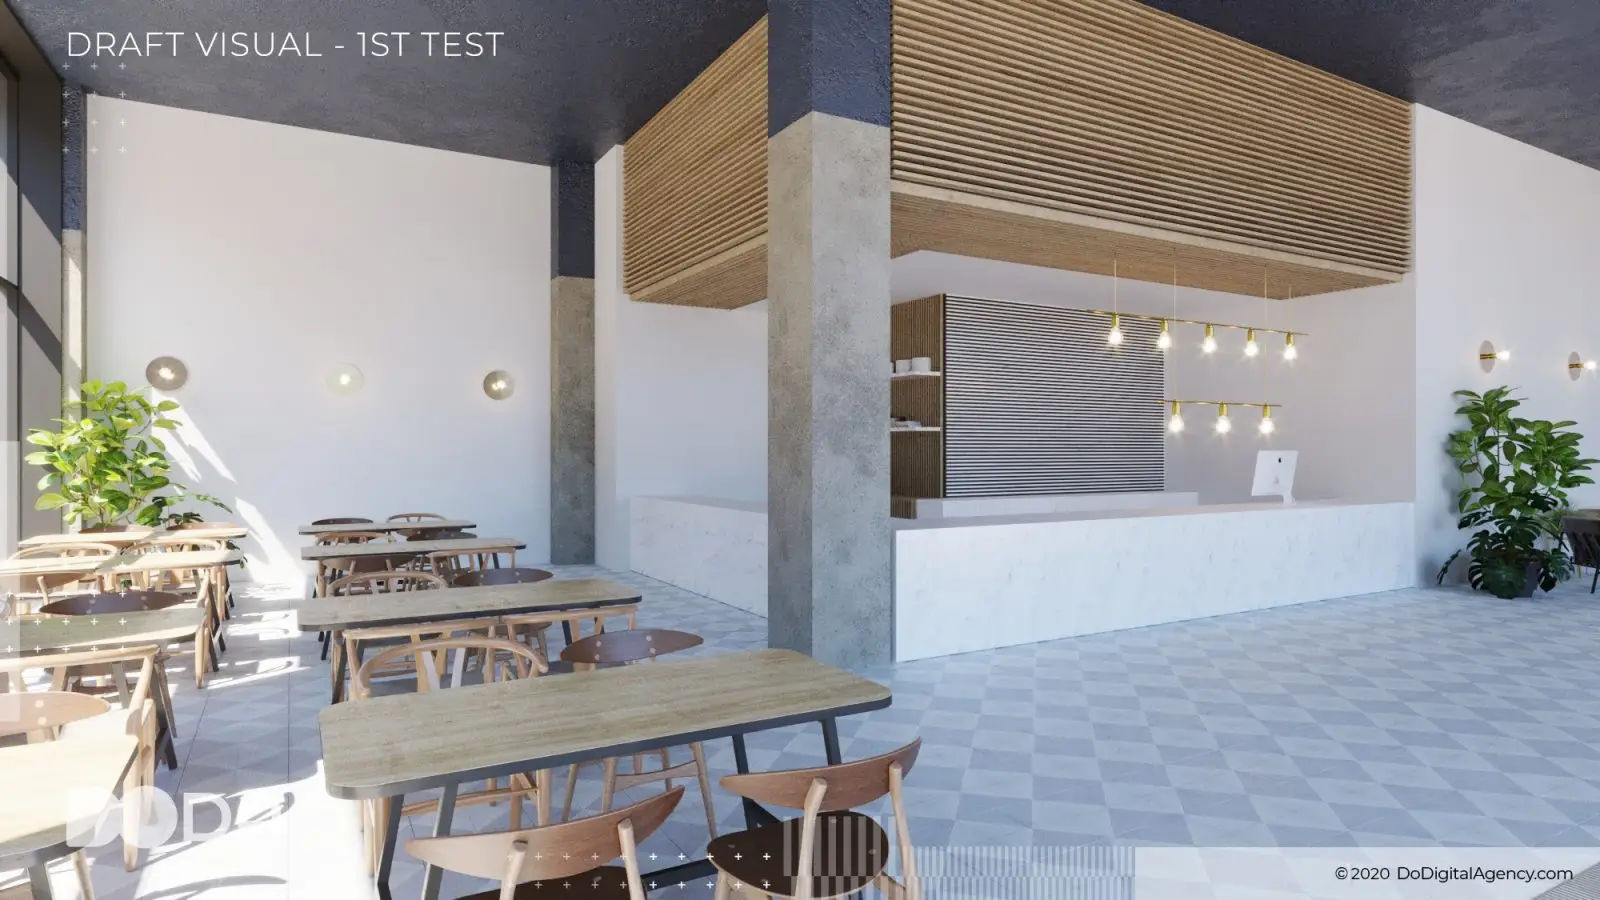
4. LIGHT, TEXTURE AND POPULATE
The lead artist will call you, to better understand the brief and discuss the proposal in more depth.
The base architectural model is textured, composition is pinned down and lighting refined further.
Any furniture spec is collated and added to the scene before rendering first drafts.
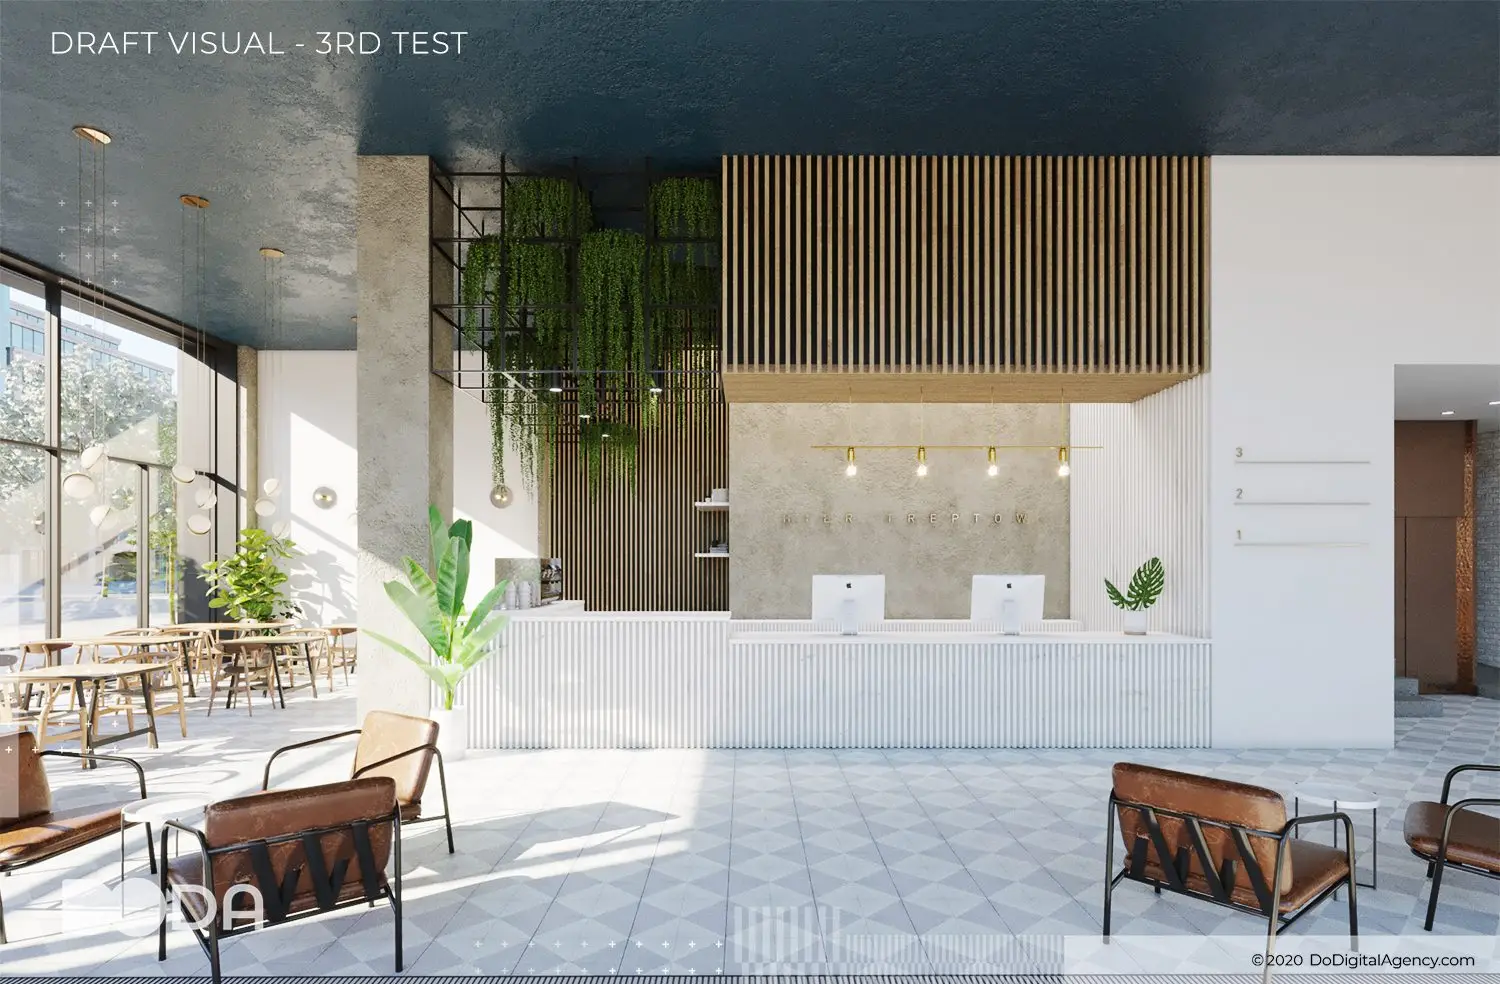
5. First DRAFT
Tests are rendered, with post production applied, and are returned to you – ready for feedback.
Once feedback is received we’ll use the Traffic Light System on markup.io to raise any queries we have, before proceeding to the next set of drafts.
6. Second draft
We’ll update your images, and send them back to you for further feedback.
Expect more Traffic Light markups from us to confirm we’re on the same page!
7. Third draft
We usually allow for three sets of revisions, which usually gets us to sign off.
If a design needs more work or there are still significant changes at this point, then we may ask for an extension to the deadline.
8. Sign off
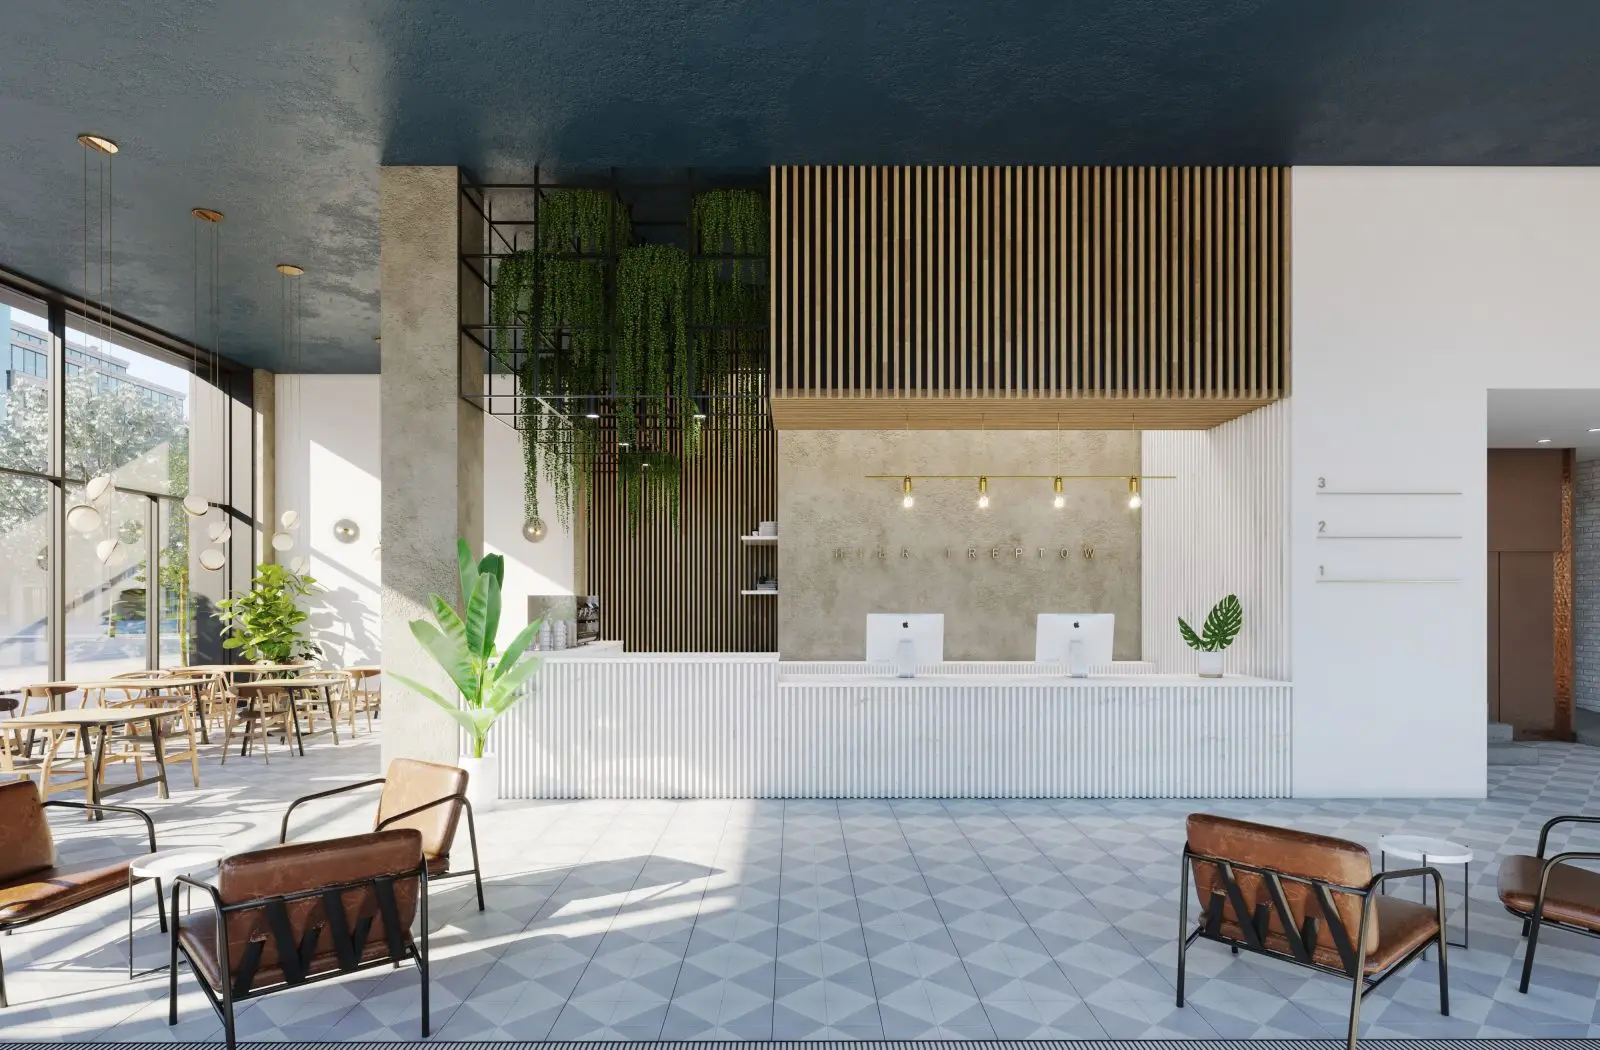
Once we get confirmation in writing that the images are signed off, our render farm kicks in to action. We let it do its thing, calculating a high quality final image for you.
This can take a while, depending on the size and complexity of the image. We usually need to render overnight, ready for everyone to wake up to the final product!
9. Post production
We put the cherry on top with a few final tweaks in photoshop, and send you over your final imagery.
in summary
That’s our process! It’s tried and tested, and has delivered fantastic work that we’re proud of. We look forward to working together.
To ensure the best results: -Please provide sufficient information to begin. -Approve the design you provide. -Use the Traffic Light System. -If deadlines are tight, respond promptly. -Provide clear, concise feedback. -Notify us promptly of changes to deadlines, perspectives, or anything else.
We use cookies to give you the best experience.
Cookie Policy